
 USD
USDPrepare Artwork for Premium Custom Embroidery
Quality embroidery starts with the right artwork. Follow our detailed guidelines and make the most of our Design Creator to ensure your designs translate well onto garments.
Sidestep Common Design Mistakes
When designing your image, please avoid the following issues, as they can cause confusion for our digitizers during the digitization process and may result in suboptimal outcomes. Addressing these in advance will help reduce unnecessary back-and-forth and avoid delays and inefficiencies in the process.
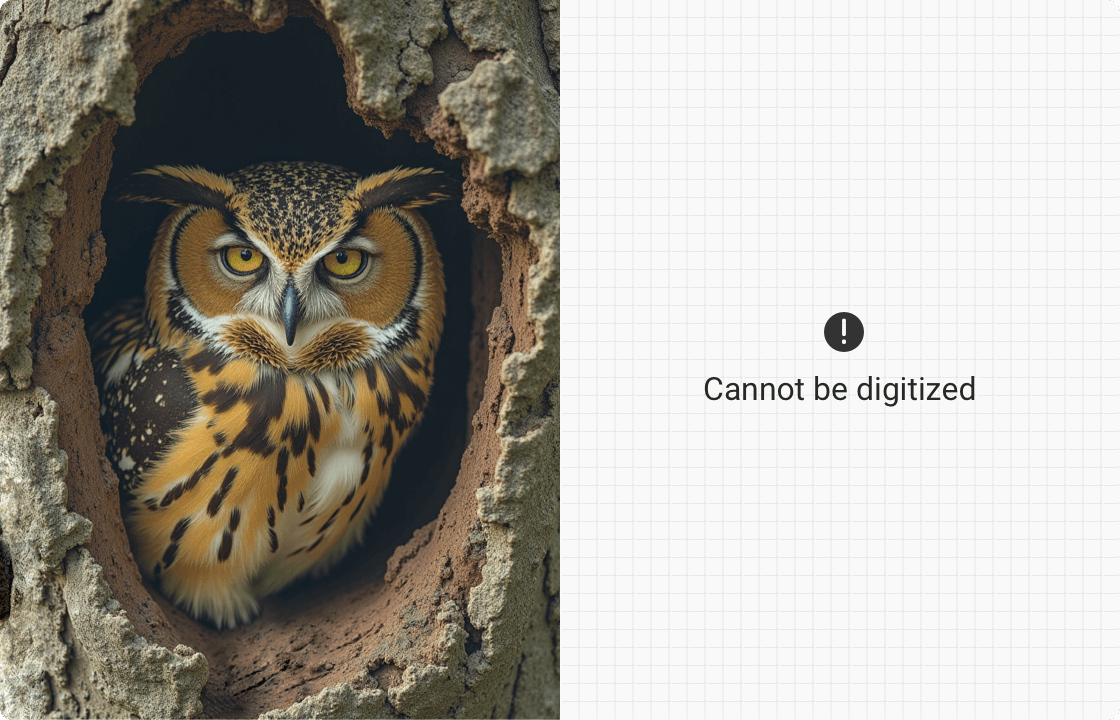
 Incorrect
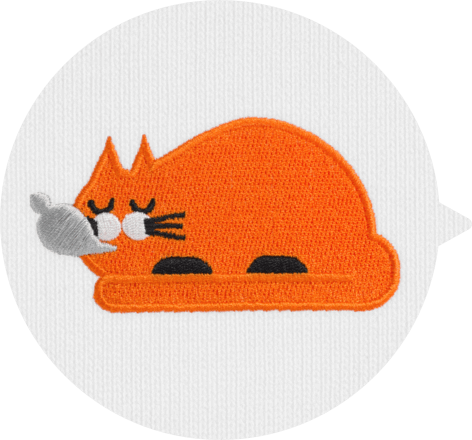
 Correct
Photographs don't translate well into embroidery during digitization and typically produce unclear results.
To make a photo embroidery-compatible, it must be reimagined with simplified, solid shapes and a limited color palette that can be translated into distinct embroidery stitches.
Basic Design Requirements for Digitization
Follow these key embroidery guidelines and double-check every detail to ensure your design is optimized for embroidery digitization.
Image format
You can upload files in JPG or PNG format. We recommend using PNG, as the format supports transparent backgrounds, allowing you to easily control which areas do not need to be embroidered, in order to reduce the overall stitch count and lower costs.
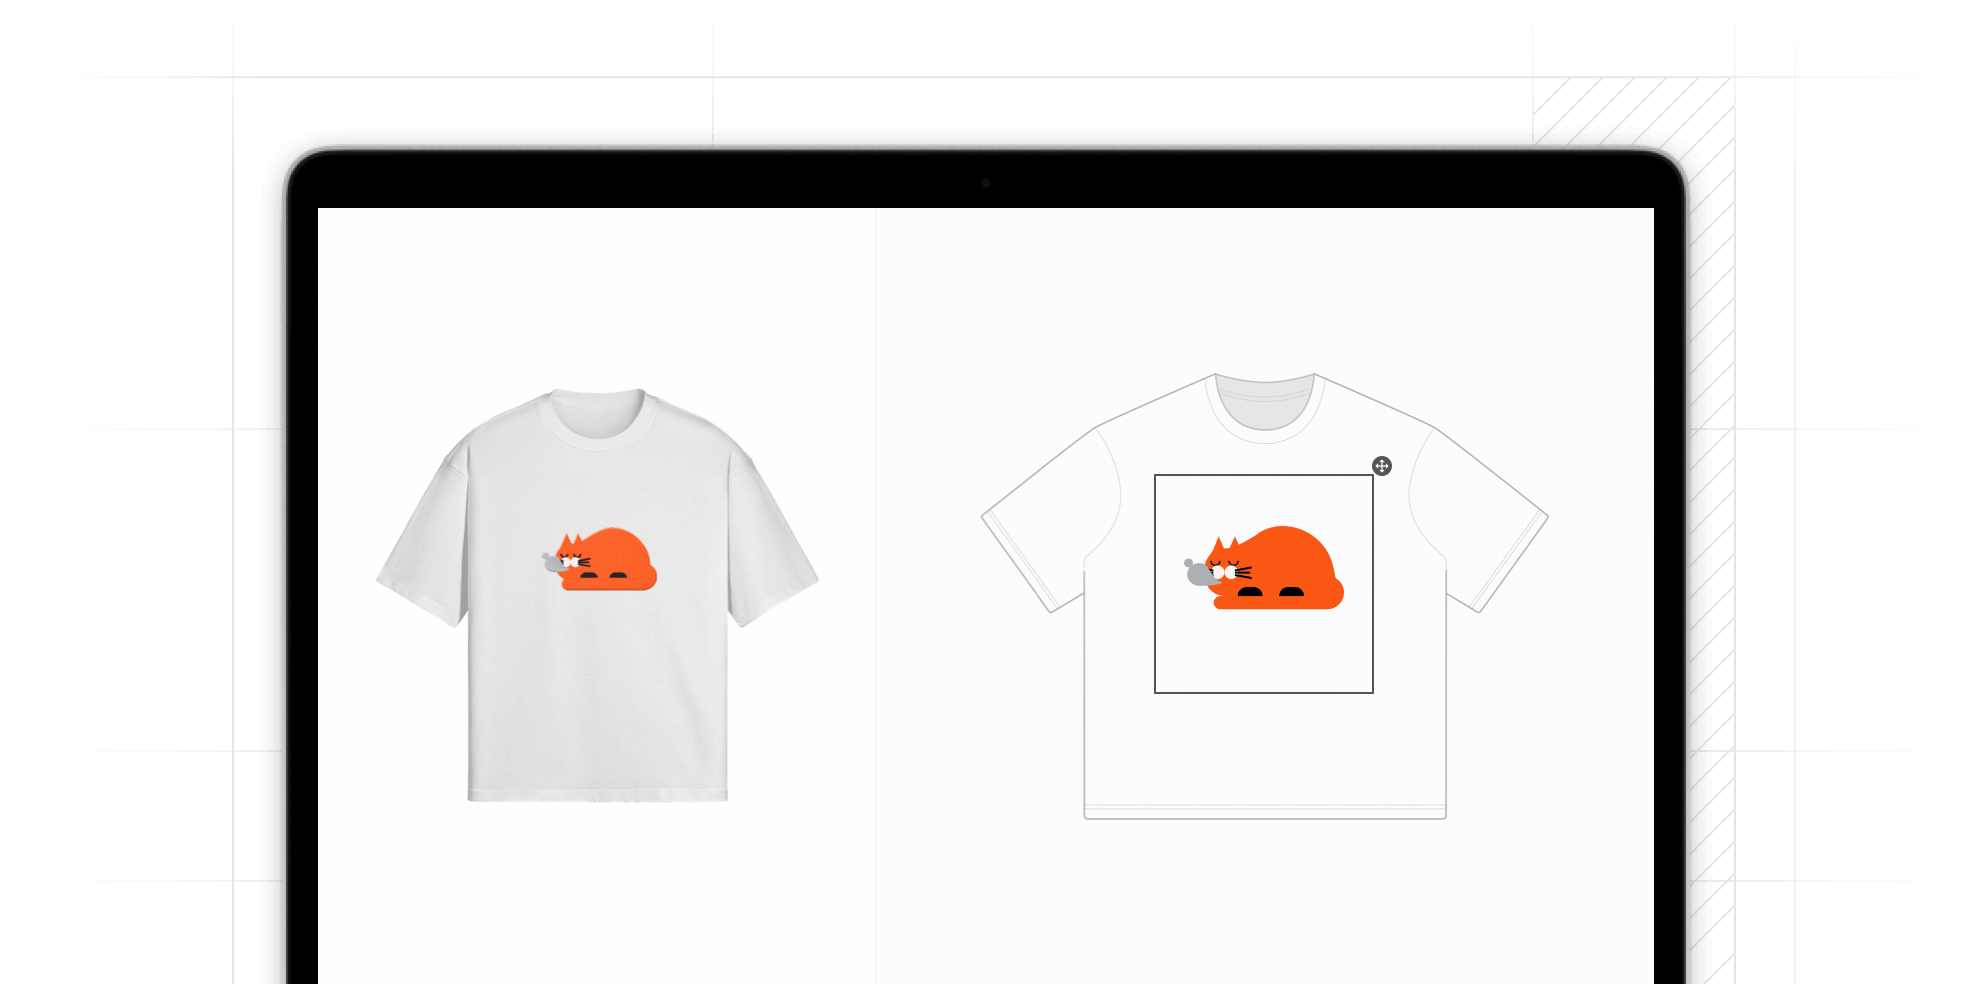
Size and placement
Consider the embroidery area and confirm the exact placement on the garment. Ensure your design fits within the designated embroidery frame dimensions.
Resolution
Use images with a resolution of 300 DPI or at least 150 DPI. Low-resolution images may distort shapes and colors, preventing accurate recognition by the Design Creator.
Color choice
You can use up to 15 thread colors in a single design. We recommend using our thread colors when creating your design to preview the corresponding color effects in advance.
Download high-resolution color palette.
Unlock the Full Potential of Your Embroidery Designs
Since a direct image-to-stitch preview may fall short of the exact effect you're aiming for, we offer this powerful markup feature in our Design Creator, allowing you to achieve richer effect after digitizing. Learn how our four markup tools can help you reach your desired outcome and start experimenting!


Define Your Design's Shape with Outline Stitching
Want to make your design's edges more defined? Use this feature to create a clear outline around any section of your image. Take this cat design as an example: if you want the cat's eyes to stand out, use the"Outline stitching" marker and the edge will be wrapped with a fine stitching outline, giving it extra definition.

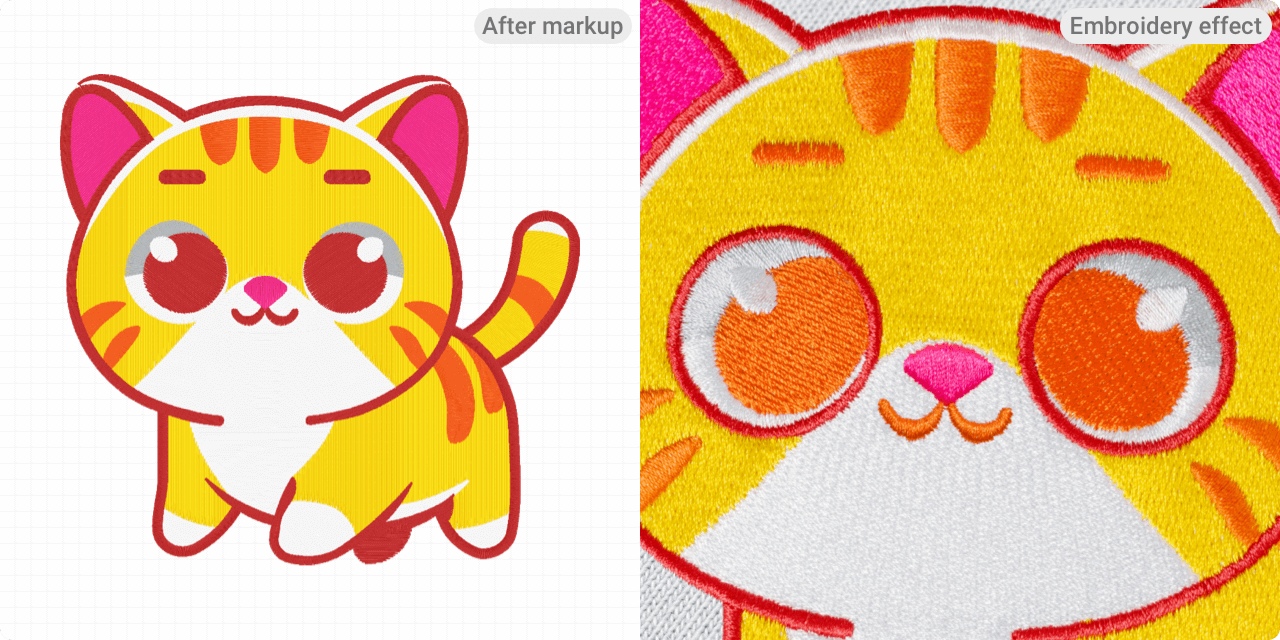
Add Depth and Texture with Raised Stitching
This feature adds an extra dimension to specific areas of your design by layering thread. Consider using it on elements you want to emphasize. For example, applying the 'Raised Stitching' marker to the cat's nose creates a raised, textured effect, making it stand out from the rest of the design.


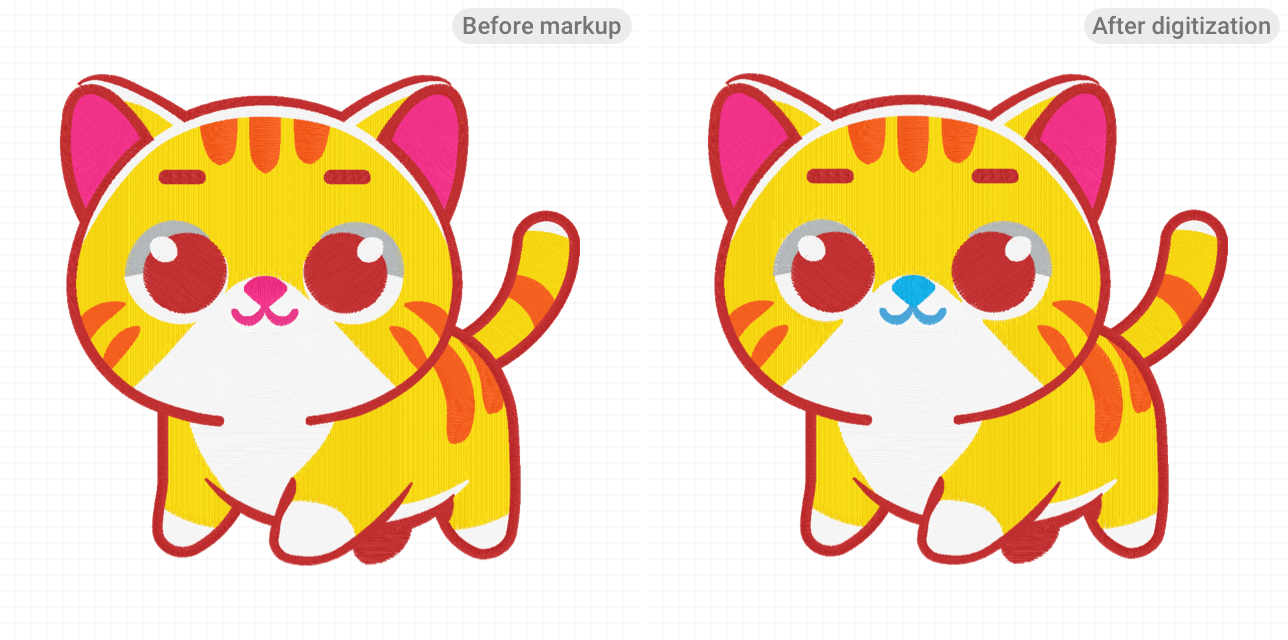
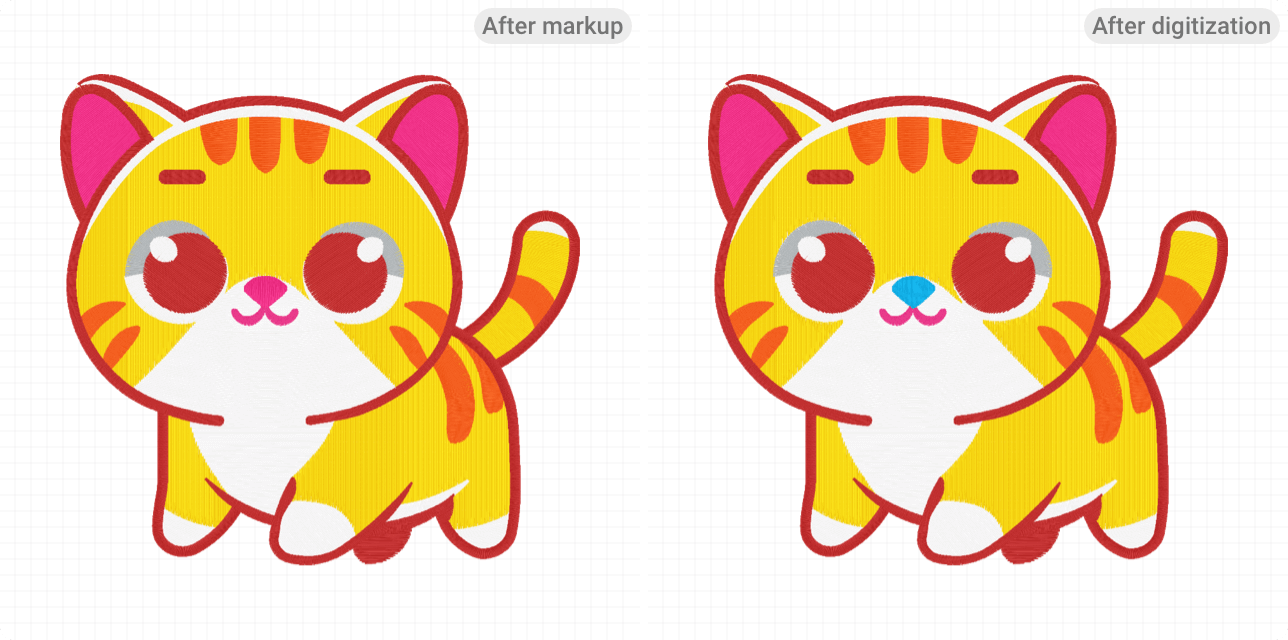
Segmenting Color Areas to Assign Different Thread Colors
Our Design Creator allows you to assign thread colors based on the color blocks in your design. The "Segmenting" marker enables you divide elements within the same color zone into separate areas, so you can assign different thread colors to each marked zone. For instance, you can make the cat's nose a different color from its mouth using this feature.
This function serves as an alternative when you want to change thread colors in certain areas after digitization. We recommend considering and determining the color of each element during your initial design process.
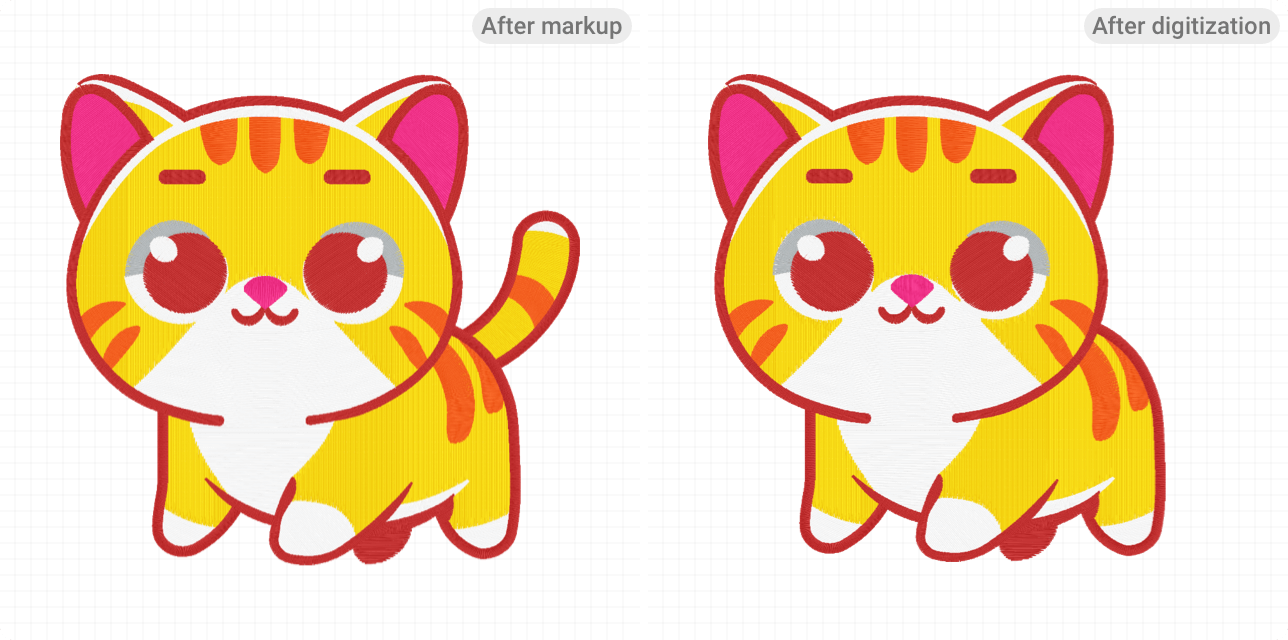
Remove Segment to Simplify Your Design
Sometimes, less is more. This feature lets you remove elements from your design. Consider parts that may be distracting or unnecessary. For example, if you decide the cat's tail doesn't fit with the rest of the design, simply mark it for removal, and it will be excluded from the final embroidery file.
What You Get with PODpartner
Limitless Creativity
Leveraging embroidery markup features and multiple design combinations with up to 15 thread colors, your creativity knows no bounds.
Free Revisions
Enjoy up to two free revisions to ensure the embroidery digitization result meets your expectations.
Reusable Design
Once your design is digitized, you can reuse it across all our products without any additional fees.